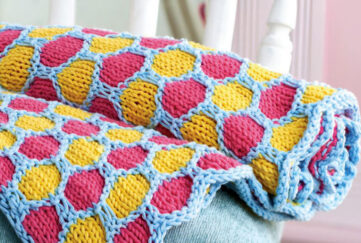
Make A Rainbow Garland
What a lovely idea from The Wool Shop, Galashiels. Make this yourself, or with the kids, it’s so easy to do! The Wool Shop can provide a kit if required.
You will need:
- Stylecraft Special DK in shades: Claret, Spice, Sunshine, Pistachio, Storm Blue, Bluebell, Wisteria and Cream
- 110cm length of cream or white yarn
- A DVD case or book of a similar size
- Scissors
- Tape Measure
To make:
1. Begin by wrapping yarn around either a DVD case or book 40 times. Cut and set aside the rest of the ball of wool.
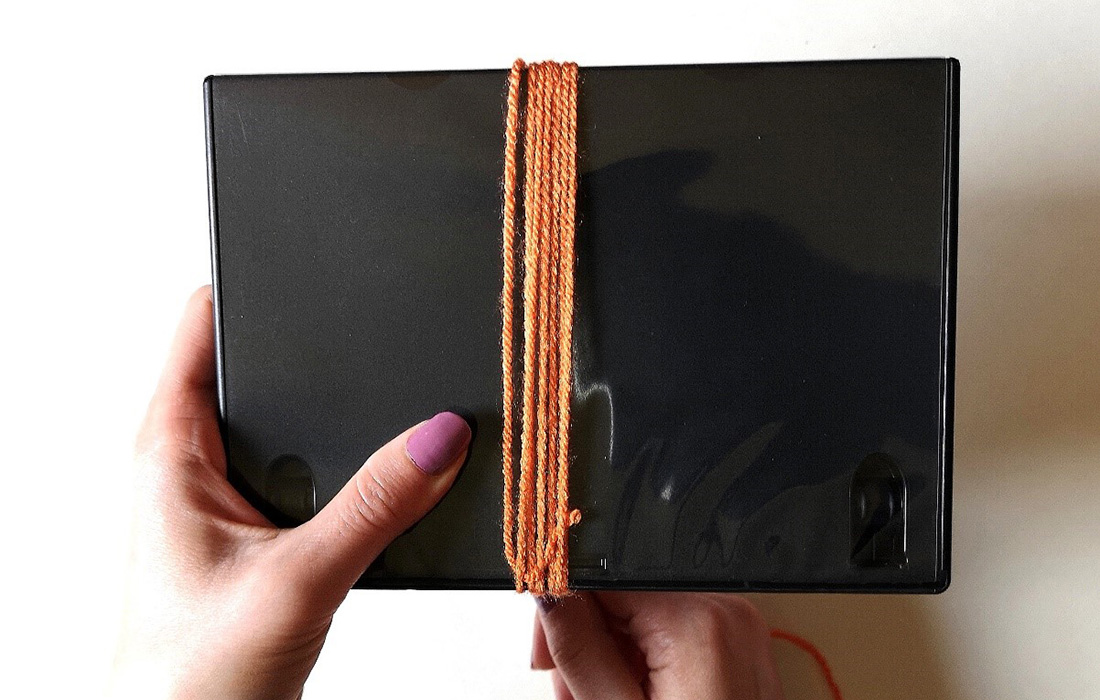
Step 1
2. Cut a small piece of yarn from the set aside ball of wool, thread one end under the wrapped yarn and tie into a loose loop around the bottom of the wrapped yarn. This will keep your all your ends in place, making it easier to cut your tassel later
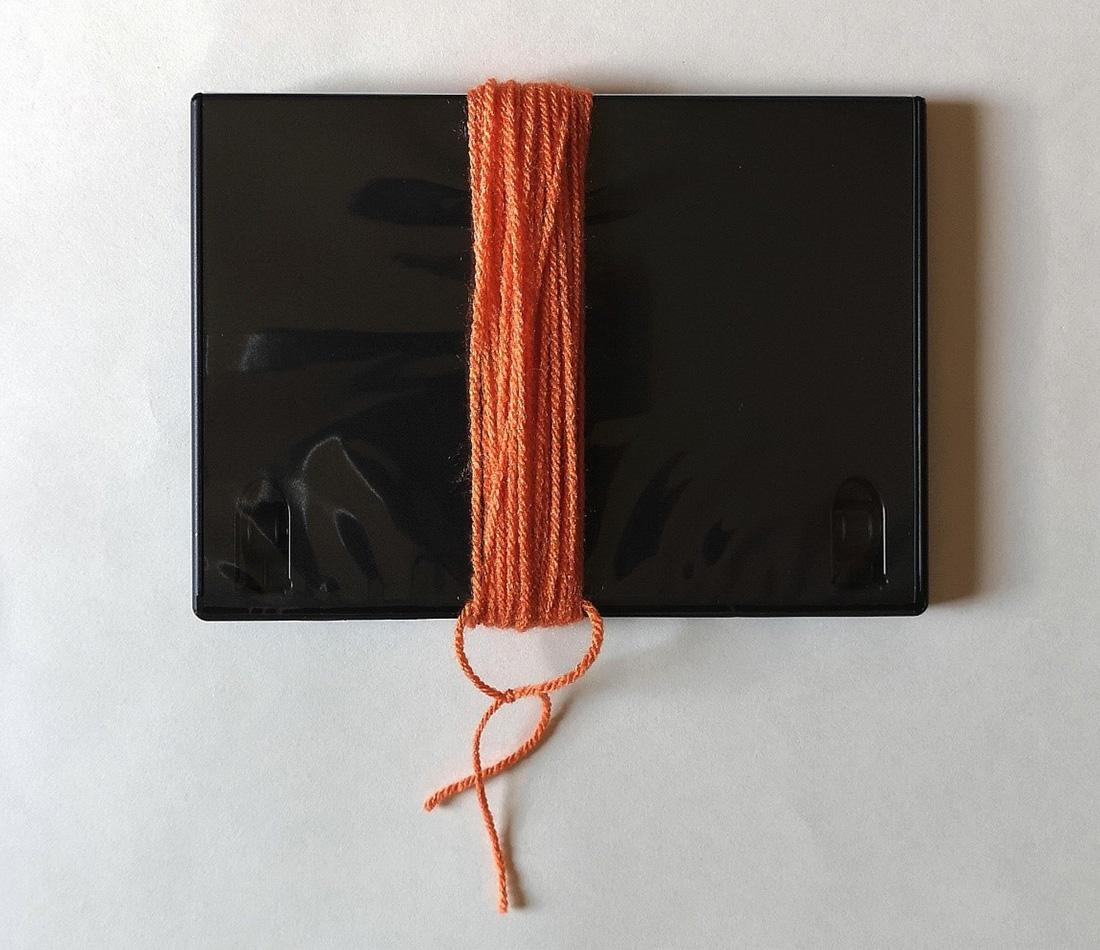
Step 2
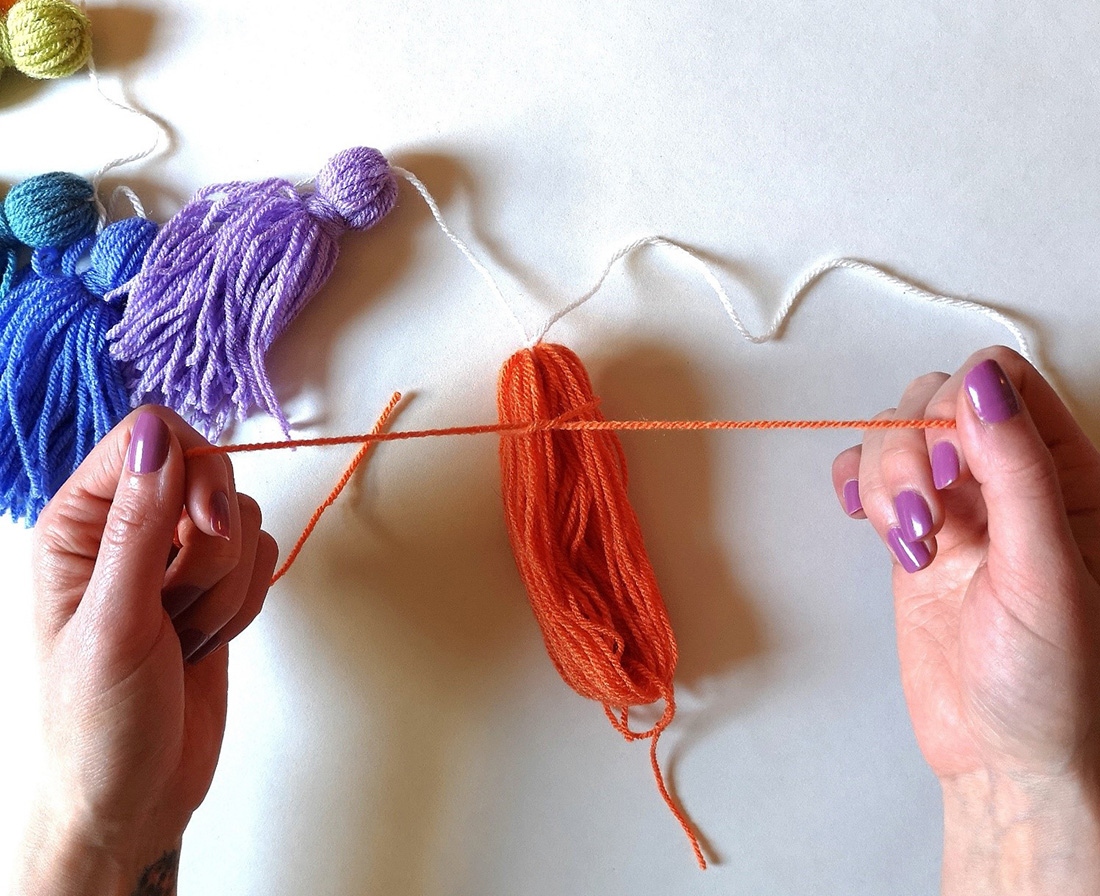
3. Take the long length of cream or white yarn and thread one end under the wrapped yarn.
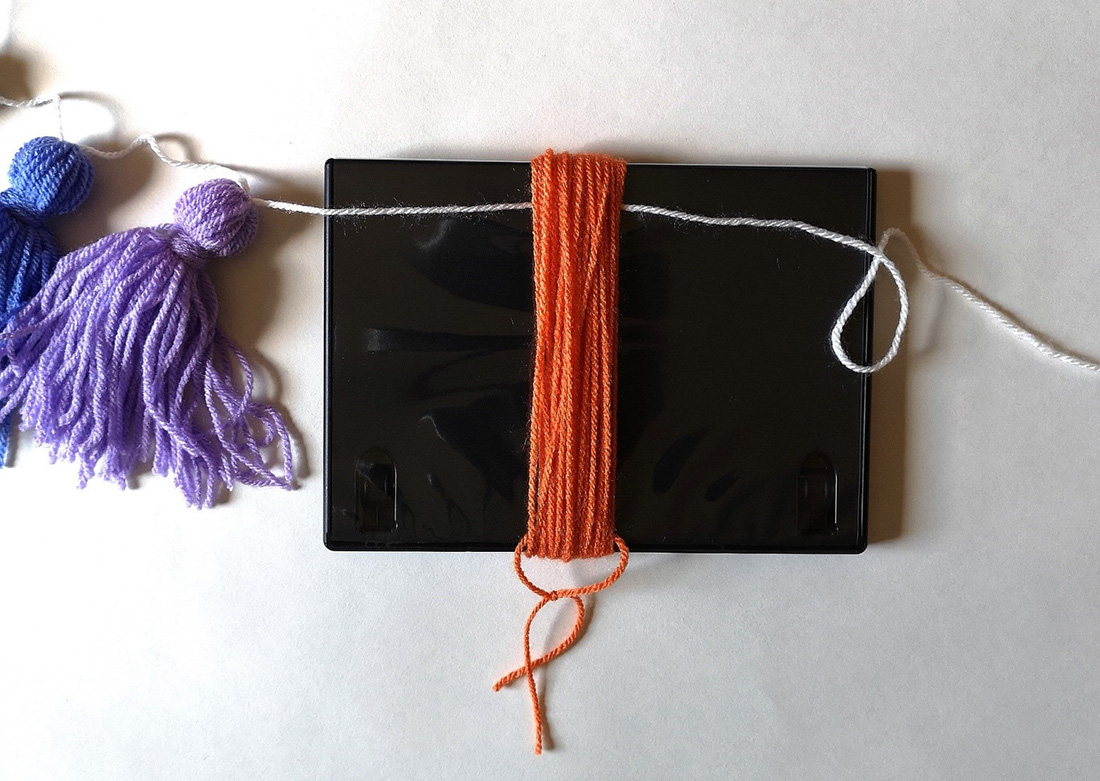
Step 3
4. Pull the wrapped yarn off the DVD case or book and move it to where you would like it on the garland. I recommend a space of 10cm between first tassel and the beginning of the cream/white yarn, leaving 6cm between the tassels
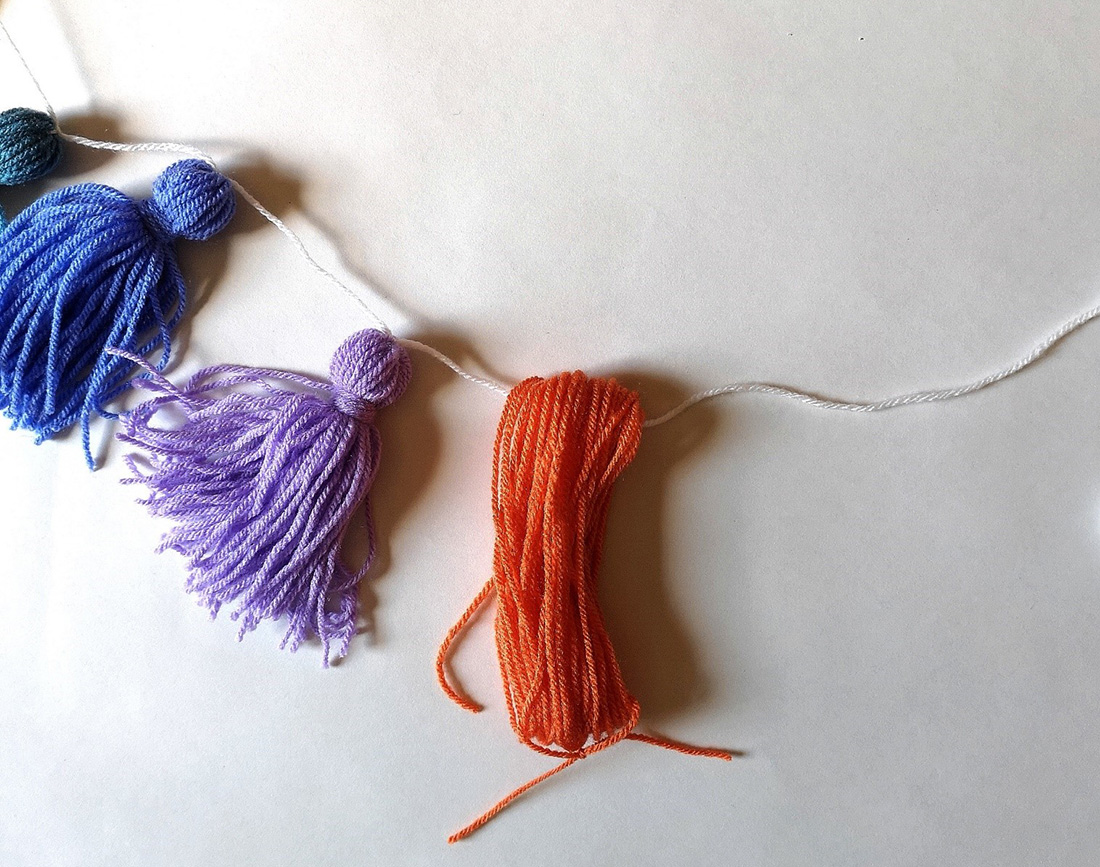
Step 4
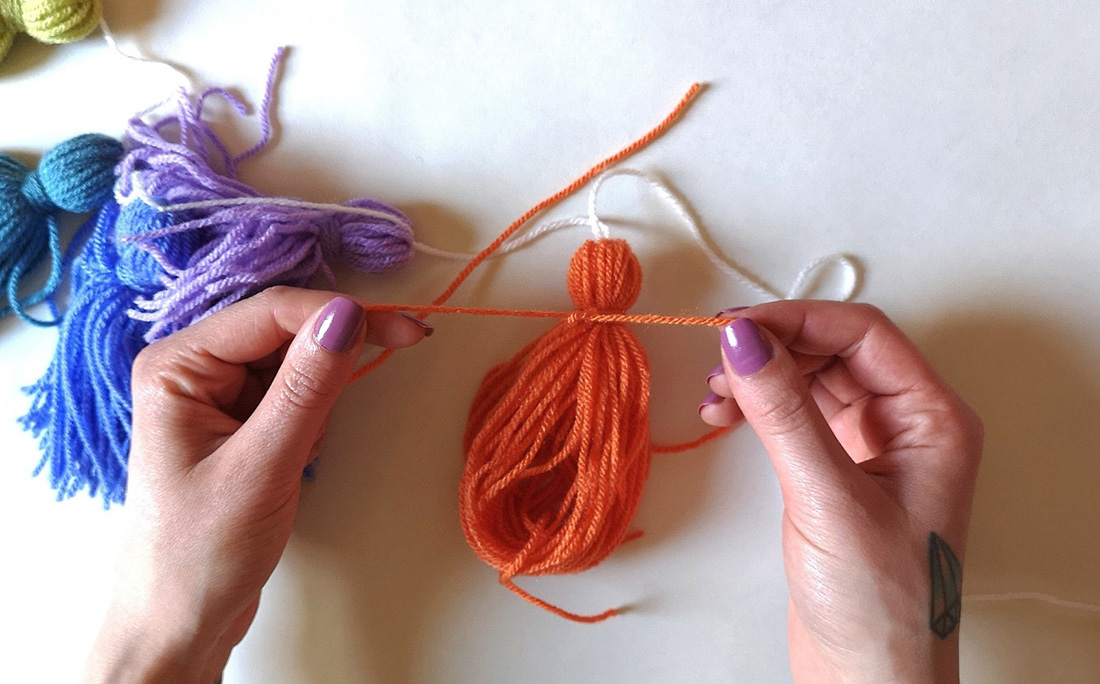
5. Tie the cream yarn tightly together at the top of the wound yarn. Tie again to double knot
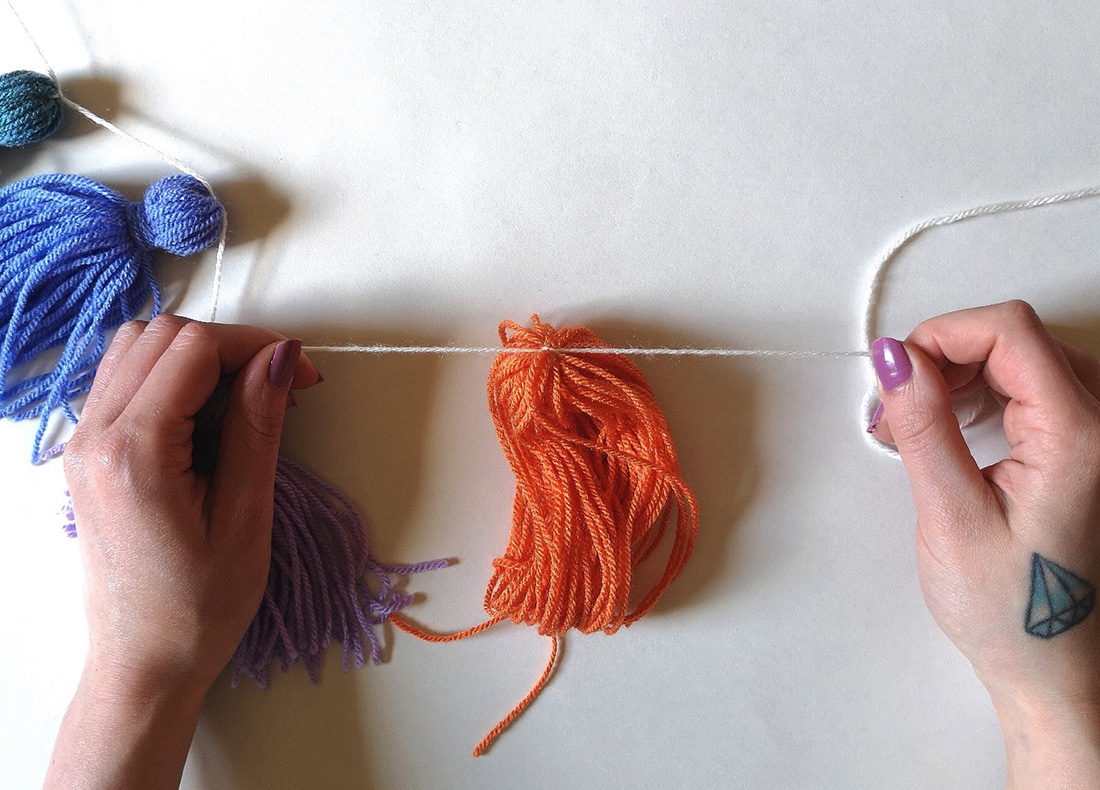
Step 5
6. Cut a piece from the set aside ball and tie it tightly around the wrapped yarn about 2cm from the top. Tie again to double knot.
Step 6
7. Wrap one end of this piece of yarn around where you’ve just tied about 5 times. This will create a neater and fuller looking “neck” for your tassel.
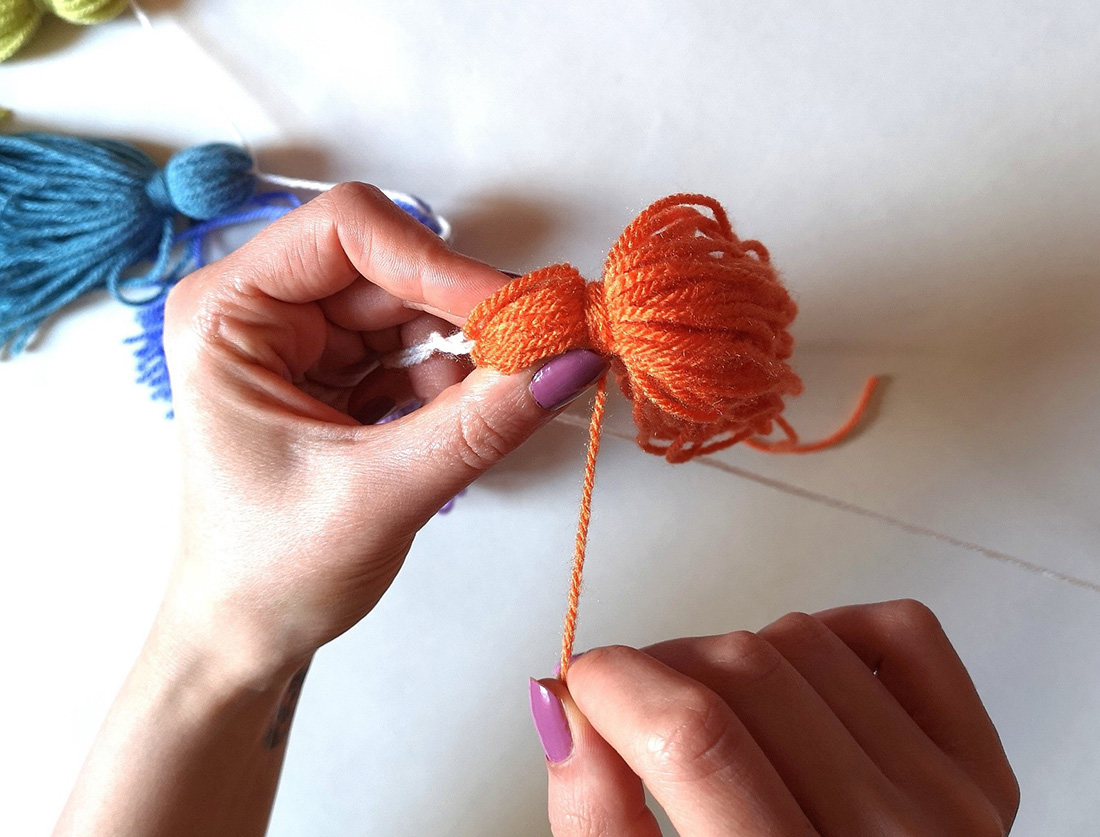
Step 7
8. Tie the 2 ends of this piece of yarn together. Tie again to double knot.
Step 8
9. Pull on the scrap piece of yarn that you tied to the bottom of the tassel earlier on, this makes it easier to separate the tassel to place your scissors into.
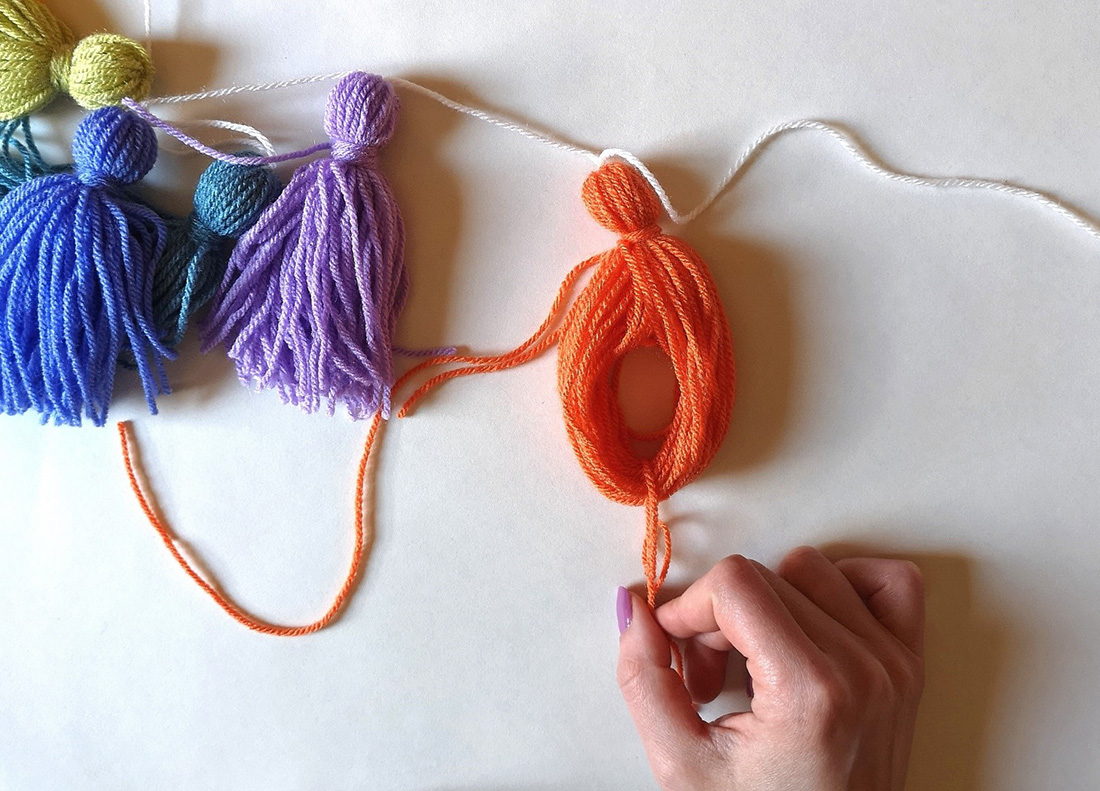
Step 9
10. Place your scissors in this gap and pull down to the bottom of the tassel before cutting. This helps to make a more even tassel. Now cut through the bottom of the tassel.
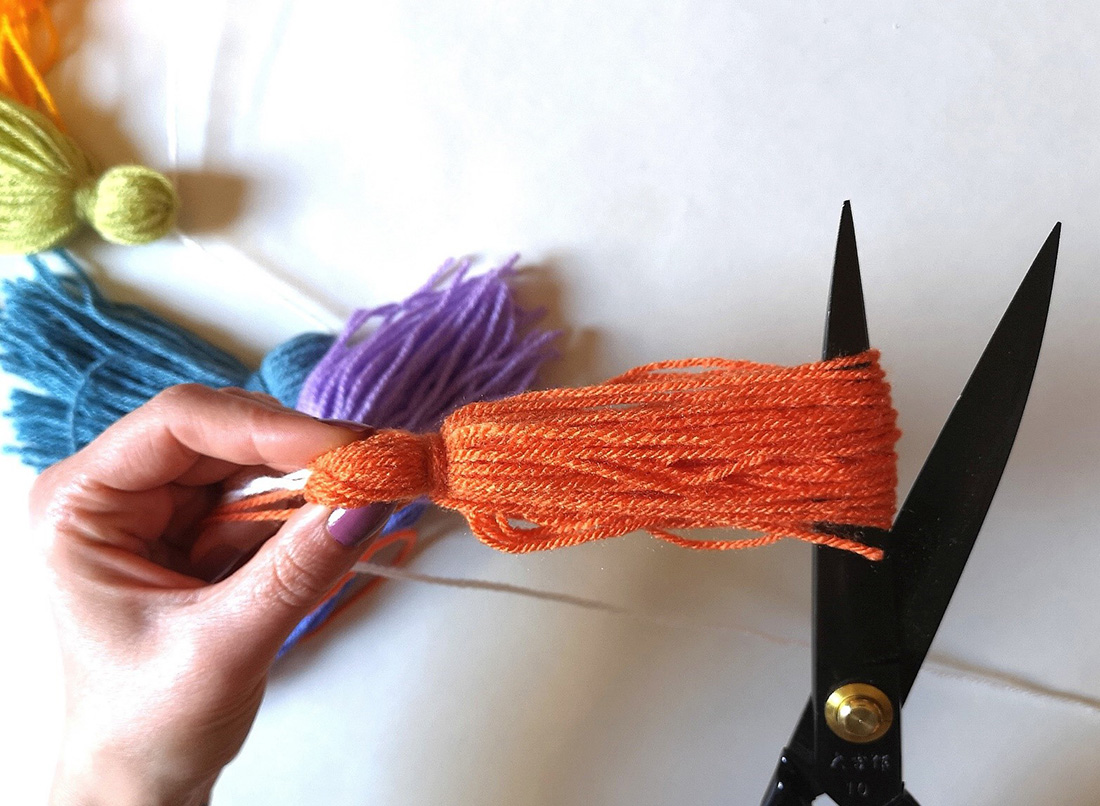
Step 10
11. Some bits of yarn at the bottom of the tassel may be longer than others. To neaten these up, run your fingers through the tassel to straighten out the strands and then trim off the ends of the tassel.
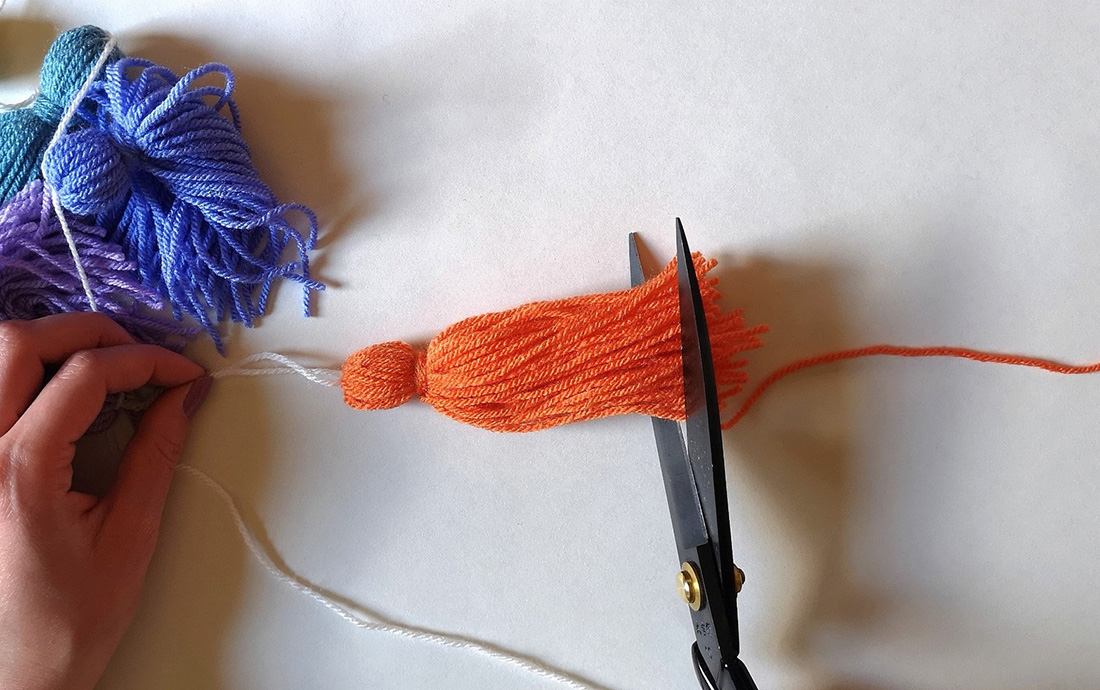
Step 11
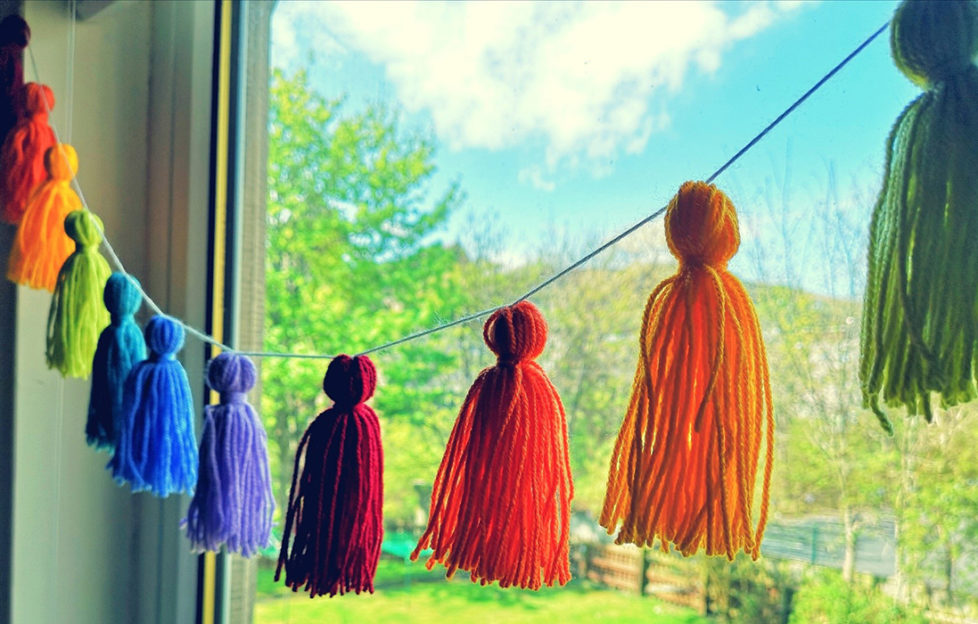
12. Repeat until you have 14 tassels (2 of each colour) on your garland. Some tassel ends might look slightly crimped, to straighten these out you will need an iron and ironing board (please ask an adult to do this). Lay your tassel flat on the ironing board, hover the iron a few inches away from the ends of the tassel and press the steam button a couple of times. Lift the tassel and run your fingers through the ends to straighten them out. Now your Rainbow Garland is complete, hang your amazing creation anywhere in your home!
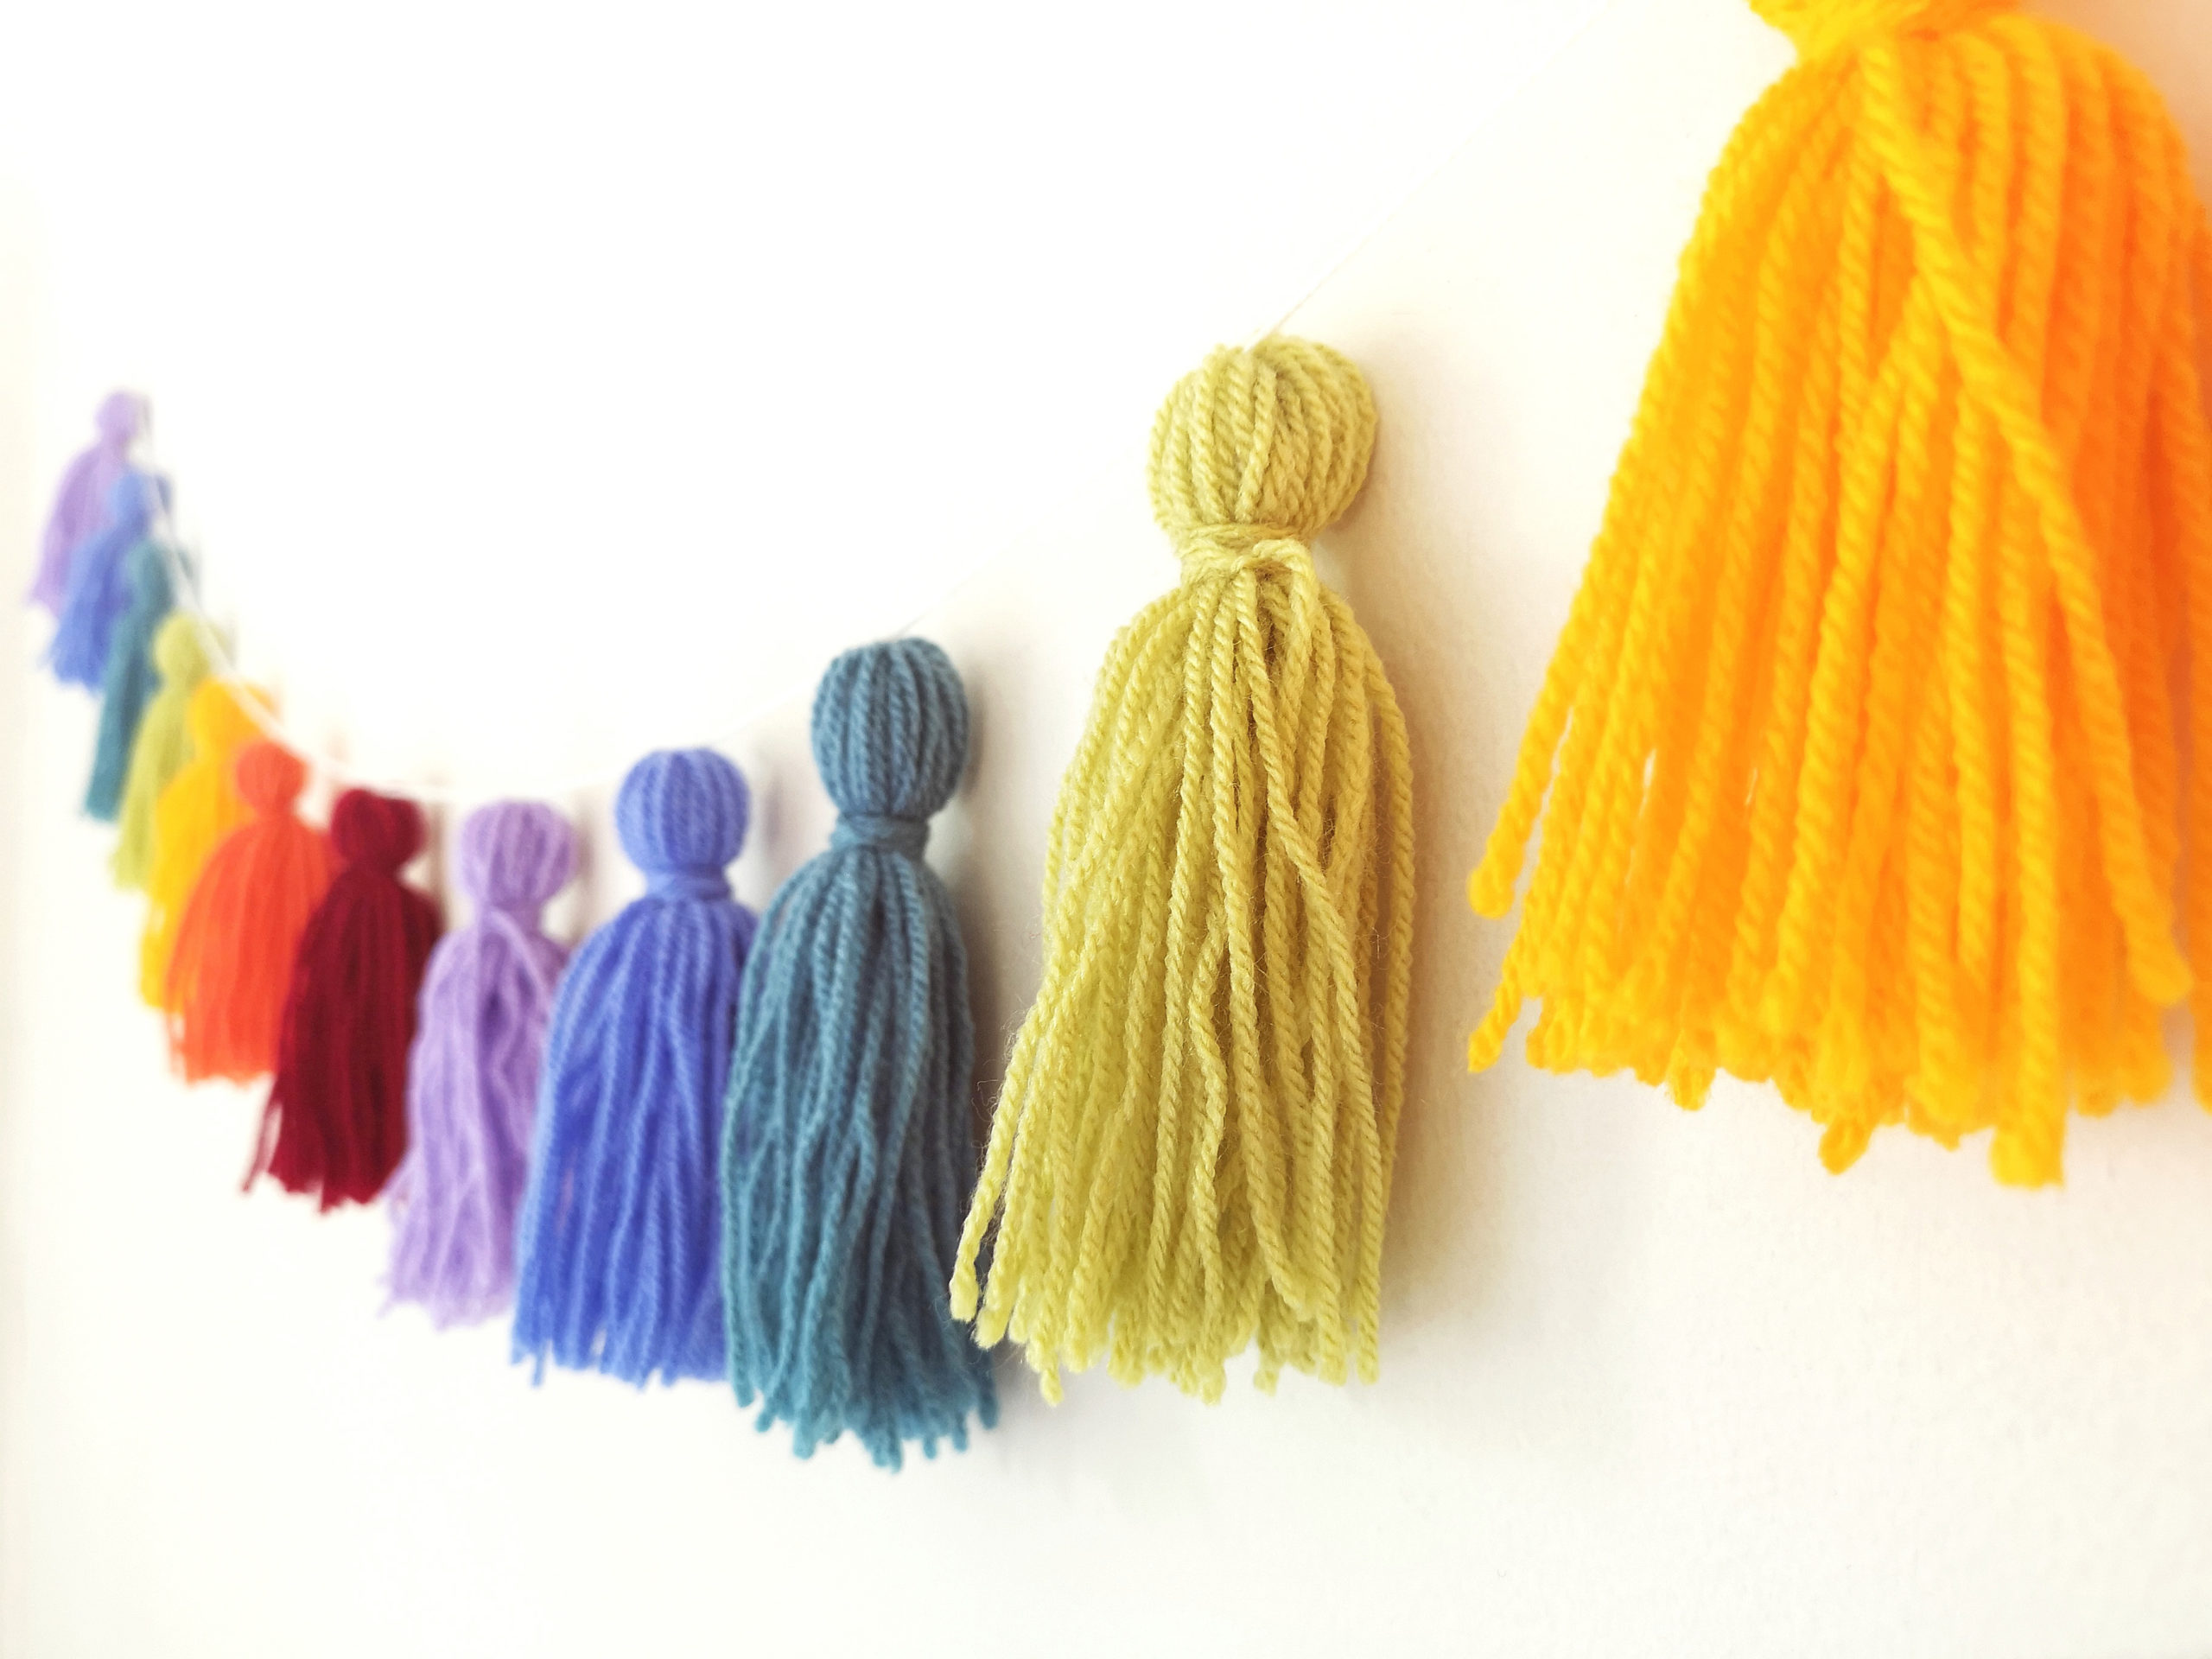
Finished garland
Allison Hay
I joined the "My Weekly" team thirteen years ago and, more recently, "The People's Friend". I love the variety of topics we cover both online and in the magazines. I manage the digital content for the brands, sharing features and information on the website, social media and in our digital newsletters.