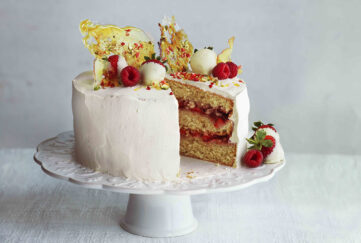
Easy Peasy Celebration Cake
You don’t have to be an experienced baker to make this impressive centrepiece! Perfect for birthdays, anniversaries and family celebrations!
Serves: 10
Cooking time: 25min, plus extra time for decoration and chilling
- Preheat the oven to Fan Oven 180°C. In the mixing bowl, beat 300g of butter with all of the caster sugar until pale and fluffy. Stir in the eggs, then mix in the flour until combined. Put around one third (400g) of the batter into each of the two prepared baking tins, and bake for around 20-25min. Leave to cool in the tin for 10min then turn out to cool. Re-line one of the tins and bake the remaining batter to make the third sponge layer.
- For the buttercream icing, place the butter and vanilla extract into the bowl and gradually add the icing sugar, beating until soft and creamy.
- To stack the cakes, trim the sponge layers with the bread knife so they are flat on top and stick one of the layers to a plate with a blob of buttercream icing. Using your palette knife or table knife, spread a layer onto the bottom layer of cake, top with another sponge, repeating the buttercream layer before placing the last sponge layer on top. Gently push down on the cake with your hand to secure the layers. Use the knife to spread a few tablespoons of icing around the sides and top of the cake to create a thin coating. Use any icing that has come out of the layers and fill any gaps between the sponge layers.
- Place the cake into the fridge for 30min. After 30min, cover the cake with the rest of the icing, and using the knife dipped in a glass of warm water, spread the buttercream icing over the sides and top of the cake, re-dipping in the water to help create a smooth texture. Place the cake in the fridge for 30min.
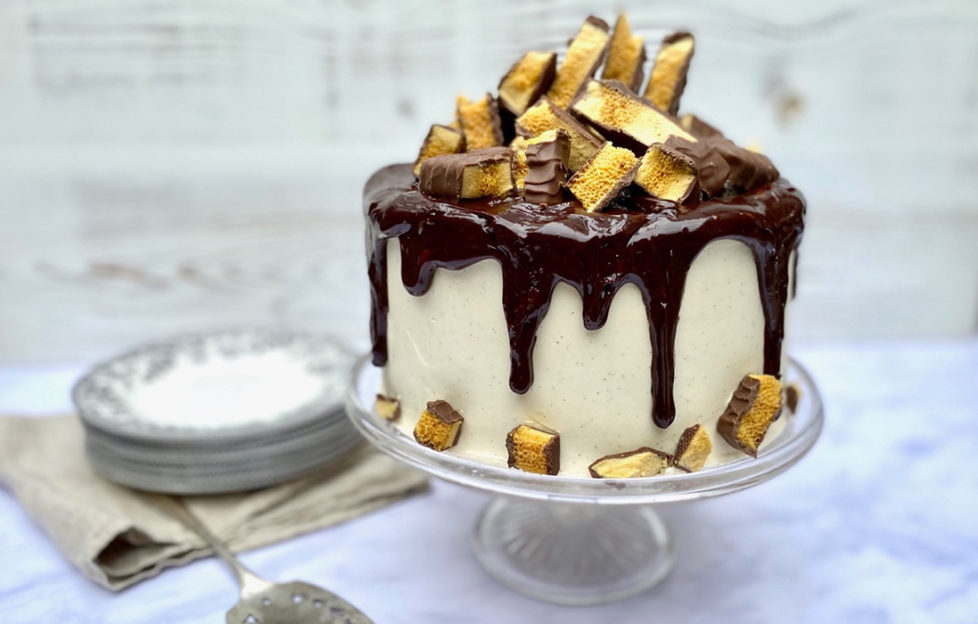
- To decorate with the drip, boil the cream in the saucepan then pour it over the chocolate in a heat proof bowl. Place a plate on top and leave for a few minutes so the heat of the cream melts the chocolate chips or pieces. Then stir well in the centre with a spoon until it comes together and is smooth and lump free. Let the ganache cool for 3min, remove your cake from the fridge and gently pour the ganache over the cake, covering the top and allowing it to drip down the sides. Finish off by adding your chocolate or sweets to the top and enjoy!
Tips from the experts at Easy Peasy Baking
Tip: When stacking the cake, put the final layer upside down helps to achieve a flat top.
Tip: You can tell the cakes are done when the sponges are light, springy, golden and shrinking away from the edge of the tins a little.
Tip: Instead of using a plate, use a cake board or chopping board with a square of baking paper to sit your cake on while you assemble it. This makes it easy to work on and get in and out of the fridge.
Tip: Depending on what chocolate treat you are using for the topping, you might like to break them up into little pieces to show the colour of the inside of the bar. If you are using larger chocolate bars, it’s really effective to cut these into tall shards and use them to create height on the top of your cake for a dramatic effect.
Tip: When you are adding your drips, you can use a spoon to encourage the chocolate to fall further down the side of the cake, and remember it looks great if the drips are random lengths.