Your Guide to Basic DIY – Fix Your Home!
There’s nothing more satisfying than mastering DIY.
No matter what the project, DIY is a great way to learn a new skill and save money on basic housekeeping projects, from leaking taps to painting walls. But how do you do it yourself?
Harris Brushes, leading provider of DIY painting and decorating tools, has explored five of the most commonly searched-for housekeeping tasks and provided handy tips on doing them yourself.

Cracks filled, picture hung, radiator bled – you can relax in your cosy room! Pic: Shutterstock
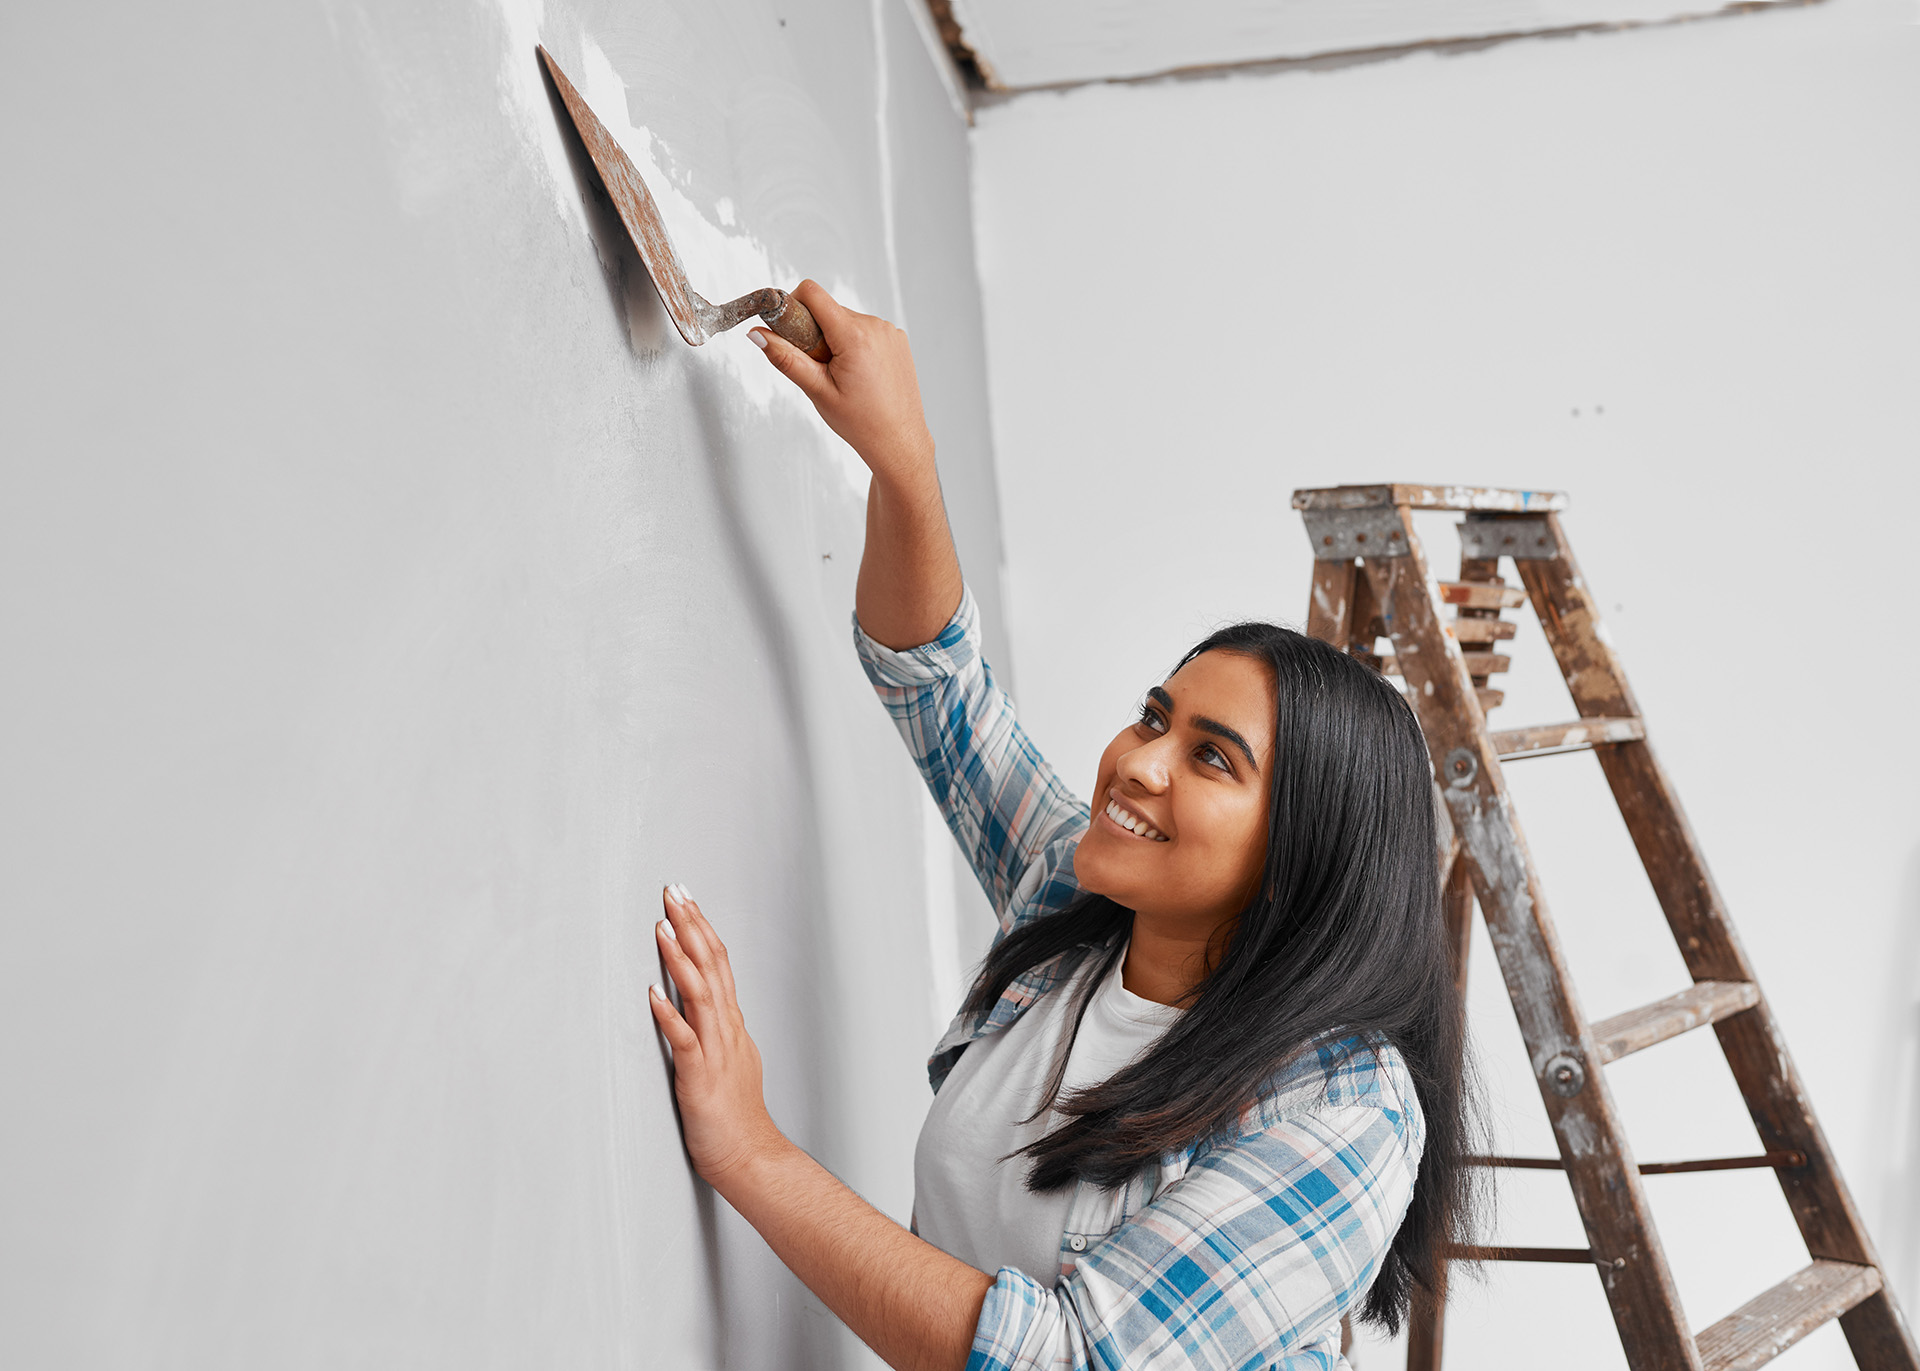
5. How to fill a crack in the wall (average monthly searches: 590)
Cracked walls can cause serious issues. Whether you’re a landlord or living in your own home, it’s best to address this structural issue sooner rather than later. They may grow into a bigger problem as time goes on.
But can you fix it yourself?
The Building Research Establishment (BRE) explains that there are six categories of cracks.
- The lowest-intensity category zero, otherwise known as hairline cracks, are less than 0.1mm and aren’t an immediate concern. You may want to repair these for aesthetic purposes, though, along with category one (fine cracks up to 1mm) and category two (cracks up to 5mm).
- Higher-intensity cracks – spanning categories three (5-15mm), four (15-25mm) and five (greater than 25mm) – will require a mason or professional contractor. This is especially true if the cracks have appeared on external walls, as this can be caused by foundational issues.
Pic: Shutterstock
If you’re dealing with minor plaster wall cracks, you can repair these yourself with wall filler.
- First, clear the area of any valuable furniture and cover the floor using a protective dust sheet.
- Next, open the crack slightly with a chisel knife to make sure there is enough room for the filler to bind the crack closed. You can do this by using the chisel knife to create a small V-shaped channel.
- If the crack is large and causing the plaster wall to crumble, you’ll first need to secure the area by painting the crack with a mixture of water and PVA glue. This step makes the plaster more durable, but you can skip it if the wall is in good condition.
- Then, use a filling knife to apply the wall filler into the crack, moving the knife lengthways down the crack.
Harris Top Tip: Dip the blade of the filling knife in water so that it glides over the filling compound, creating a smoother finish which requires less sanding in the next step.
Follow the instructions on your chosen wall filler and wait the correct amount of time before continuing.
Once dry, you can sand down the surface, wipe away any excess dust using a brush, and paint over the area.

Pic: Shutterstock
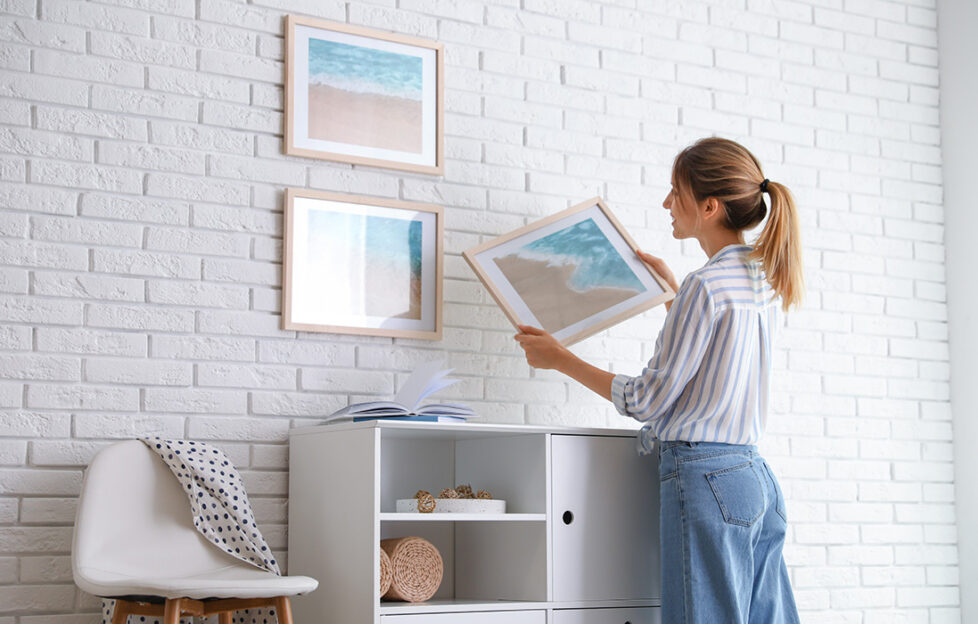
4. How to hang a picture (average monthly searches: 1,900)
Preparation is key when it comes to hanging pictures perfectly in your home. There are many things that can go wrong, so it’s important to plan ahead beforehand.
First of all, consider how your picture will attach to the wall.
If your picture frame has D-rings (hooks in the shape of a D) on the back, you can use wire. Cut it down with pliers, tie a knot on both hooks and hang it on the screw you’re going to put up.
Alternatively, if your picture frame is roughly 10kg or over, hanging the frame directly on the screw may be best – or you can specifically use heavy duty hooks!

Pic: Shutterstock
Next, make sure you’re not going to damage any internal pipes or electrical wires.
To do this, use a multi-detector wall scanner before hammering or drilling any holes into your walls to make sure there are no underlying pipes or wires in the location you want to hang your picture. These can be purchased in most DIY stores.
Then, make sure you’re using the right tools for the job.
- If you’re working on a brick wall, you may need to use a masonry drill with a wide, arrow-shaped head.
- To securely hang a picture frame with this piece of equipment, choose a screw and wall plug for the hole you’re creating. Make sure they’re both the same size.
- Mark the spot with a pencil, hold your drill straight and drill into the brick wall.
- Put the drill down safely and insert the raw plug with a hammer. Use a manual or electric screwdriver to fit the screw into it.
- If you’re working on plasterboard, you’ll need specialist plasterboard wall plugs. These spread and expand on the back of the wall, ensuring that your fixture is firmly in place.
- If the picture frame is heavier than 10kg, use metal anchors over plastic ones.
- Either way, remember to clean the area with a dusting brush after using a drill.
3. How to fix a leaking tap (average monthly searches: 2,900)
There are few things more unsettling than a leaking tap. It’s best to fix the issue as soon as you can.
Before channelling your inner DIY champion, you’ll need to gather some essential tools. This includes an adjustable spanner, replacement O-ring, flathead screwdriver, rubber washer, tap seat insert kit or grinder tool, Allen key and cleaning supplies.
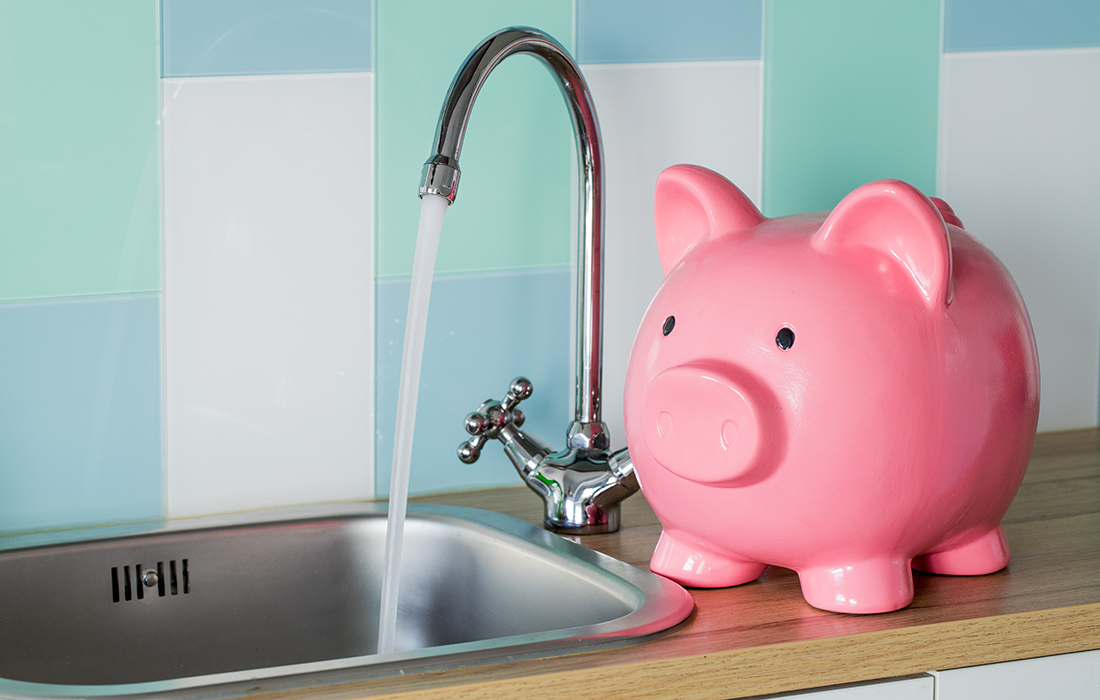
Dripping and running taps waste money too. Pic: Shutterstock
- Turn the water off, remove the tap with a flathead screwdriver or Allen key if necessary, and check the tap seat (the opening hole of the tap). If the seat is damaged you’ll notice the area is uneven.
- You can repair the area by inserting and twisting a seat grinding tool until the surface is free of bumps or replacing it with a new seal altogether.
- If the seat is covered in limescale, this could be the cause of the dripping. If limescale isn’t the issue, you might have to replace the rubber washer. It could also be a faulty O-ring, which can be removed by hand or with scissors.
There are a lot of possible issues here, so it’s no wonder ‘how to fix a leaking tap’ has an average monthly search volume of 2,900! If you’re looking for professional advice, you can submit your questions to MyBuilder online for free.
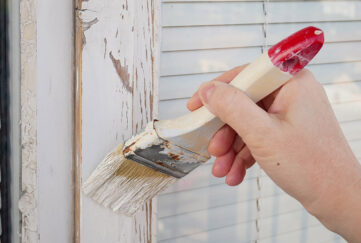
2. How to paint a wall (average monthly searches: 2,900)
A fresh lick of paint makes all the difference. If your home is in need of a little TLC, painting is likely one of the first things you’re going to try. And you’re not alone!
‘How to paint a wall’ ties for second place in the most searched DIY terms.
To get started, prepare the surface and any surrounding areas. Cover the floors in dust sheets and fix any holes or cracks on the walls using our handy guide above. Make sure the walls are clean, removing dust with a brush, or dirt with warm water and a sponge.
There are many painting methods that you can follow. Cutting in is one that will help you achieve the perfect finish.
This is where you paint the edges of the room to create a frame. To make this method a little easier, you can use tape to cover light switches, skirting boards etc.

If you’re painting a whole wall, using a high-quality roller will save you lots of time. Stand roughly one metre away from the wall, roll the painting accessory in a slight W motion and repeat until the paint is evenly distributed. This technique, known as the wet edge technique, makes sure the painted edges are still wet, and is used by professional painters to ensure even paint coverage on a wall quickly.
Harris Top Tip: Place your roller 15-30cm further to the left or right of the area you’ve just painted. Then, roll up and down in a “W” motion, bringing the paint roller across to meet the wet edge of the paint.
Repeat this process if the paint you’re using recommends multiple layers, and remember to clean your tools immediately after use. This will keep them fresh for longer and ensure your painting projects look great!
1. How to bleed a radiator (average monthly searches: 33,100)
Radiators are still our most common home heating solution. ‘How to bleed a radiator’ has an average of 33,100 online searches every month. But what does this mean?
Our radiators need to be as functional and efficient as possible. Trapped air can lead to cold spots and stop you from effectively warming up your home. Bleeding your radiator is a simple trick to master, and tremendously rewarding.
You don’t want cold spots in your radiators! Pic: Shutterstock
Start by switching off the central heating. It’s a good idea to keep your eyes on the boiler at this point – you want the pressure to be between 1.0 and 1.5 bars during this process.
To be safe, cover the floor around your radiator with a towel before loosening the bleeding valve in case any water comes out.
This bleeding valve is normally on the upper right side of your radiator. Some radiators may need a radiator key or a flat head screwdriver to bleed it – these can be found at most DIY stores.
Insert the radiator key or screwdriver into the valve and turn it anticlockwise to release any excess air. Once you’ve released the air, close the valve by turning it in the opposite direction and move onto the next valve, if needed.
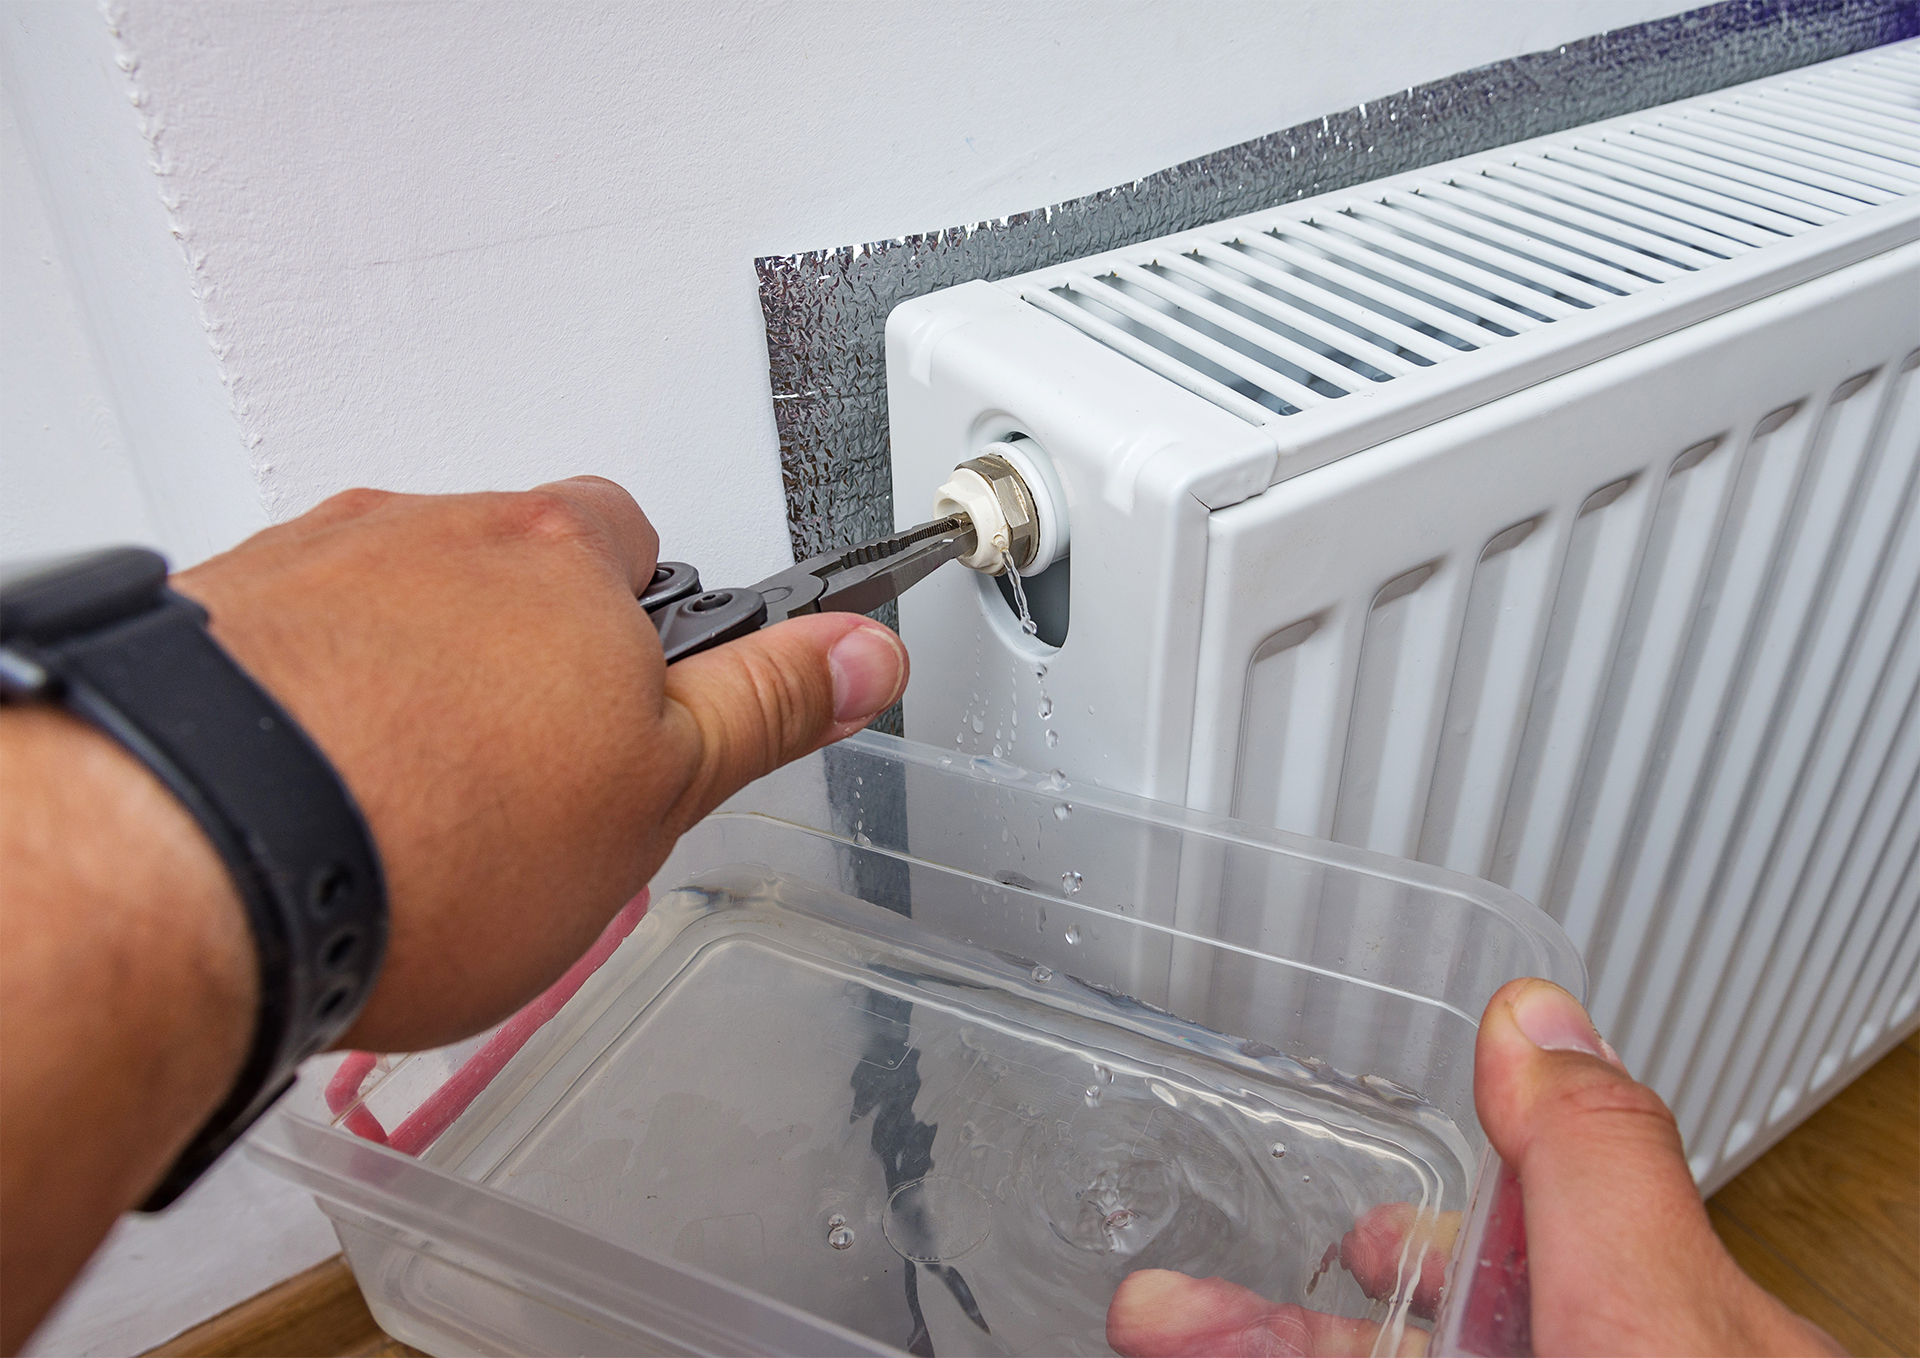
Be ready to catch the drips. Pic: Shutterstock
Before switching on your heating, double check that your boiler pressure is in the green zone. If you see red, or your boiler shows low pressure, re-pressurise your boiler by following your boiler’s instructions until the meter becomes green.
Different types of boilers may be re-pressurised in different ways. Some will have a reset button, while older boilers may have a valve. Double-check the manufacturer’s instructions if you’re having difficulties.
Find style inspiration and simple craft projects in every issue of My Weekly and My Weekly Special. Subscribe and have your copy delivered!